Nissan Murano: Steering System :: Removal and Installation / Steering Column
Electric steering column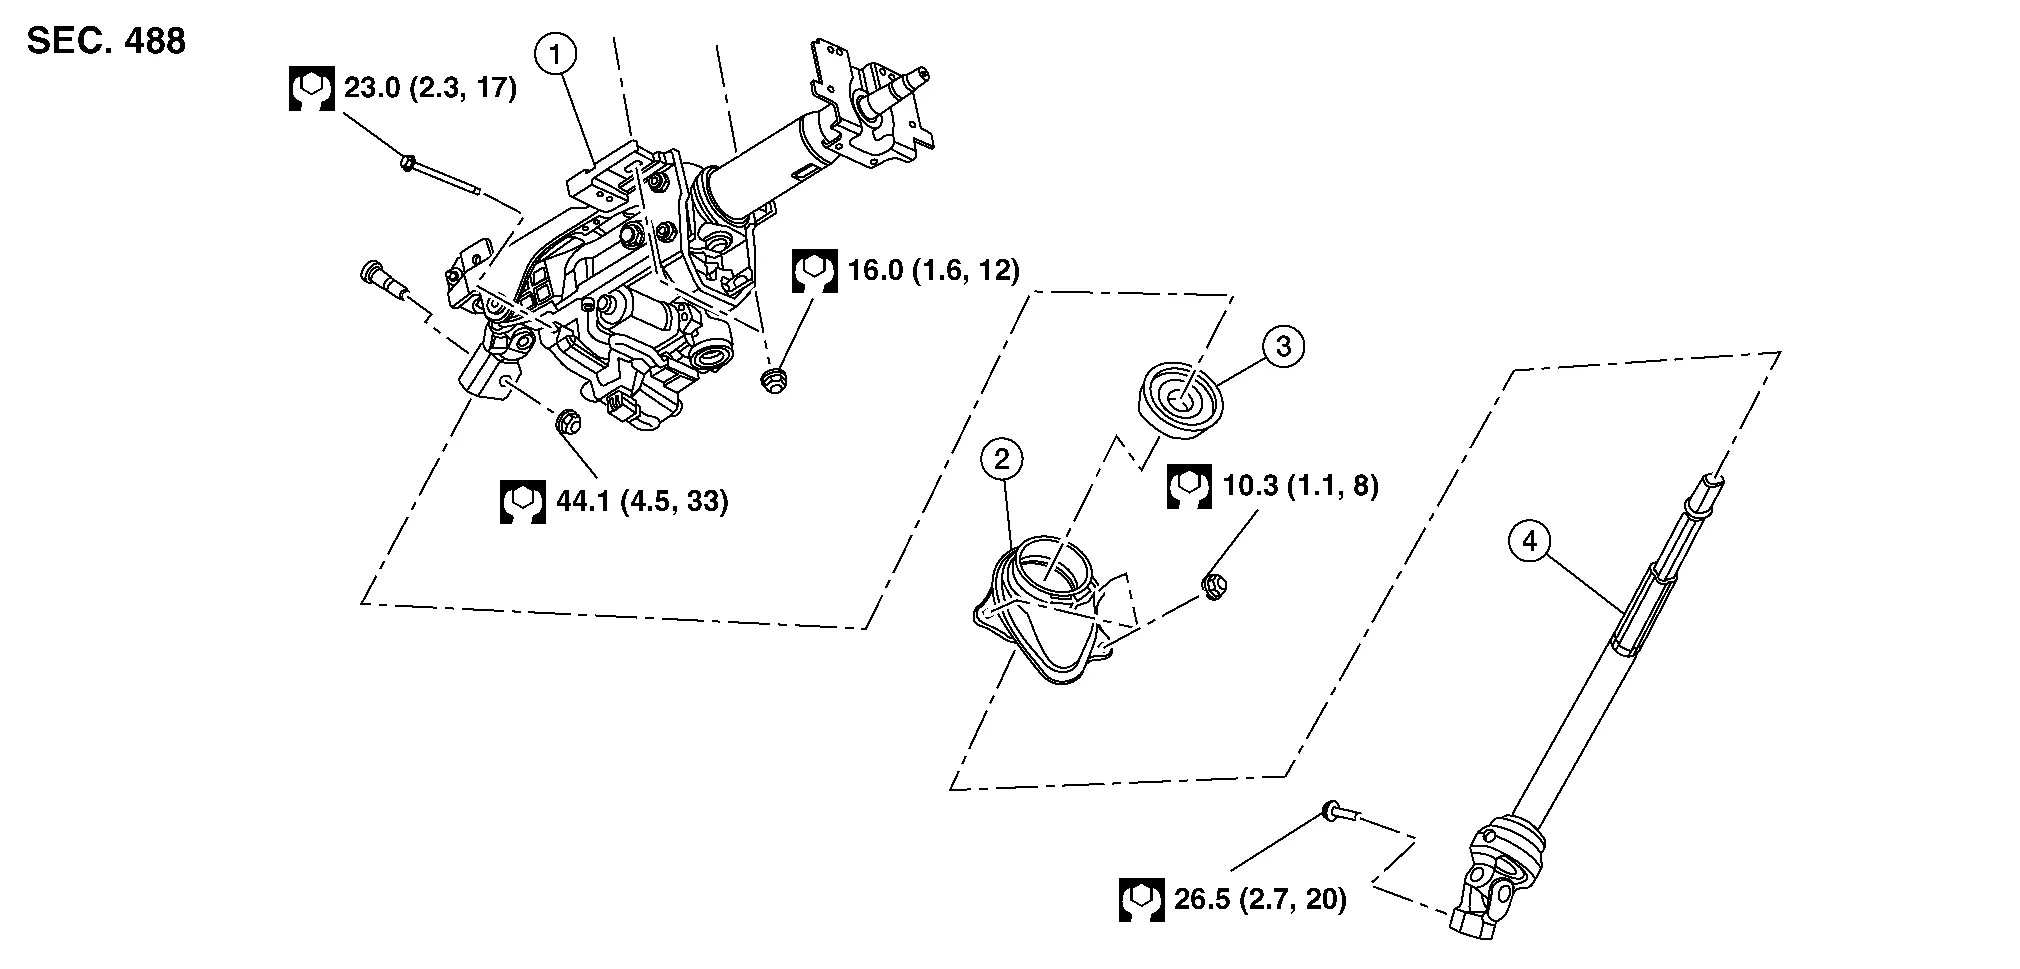
| 1. | Steering column | 2. | Hole cover | 3. | Lower boot |
| 4. | Steering intermediate shaft |
Mechanical steering column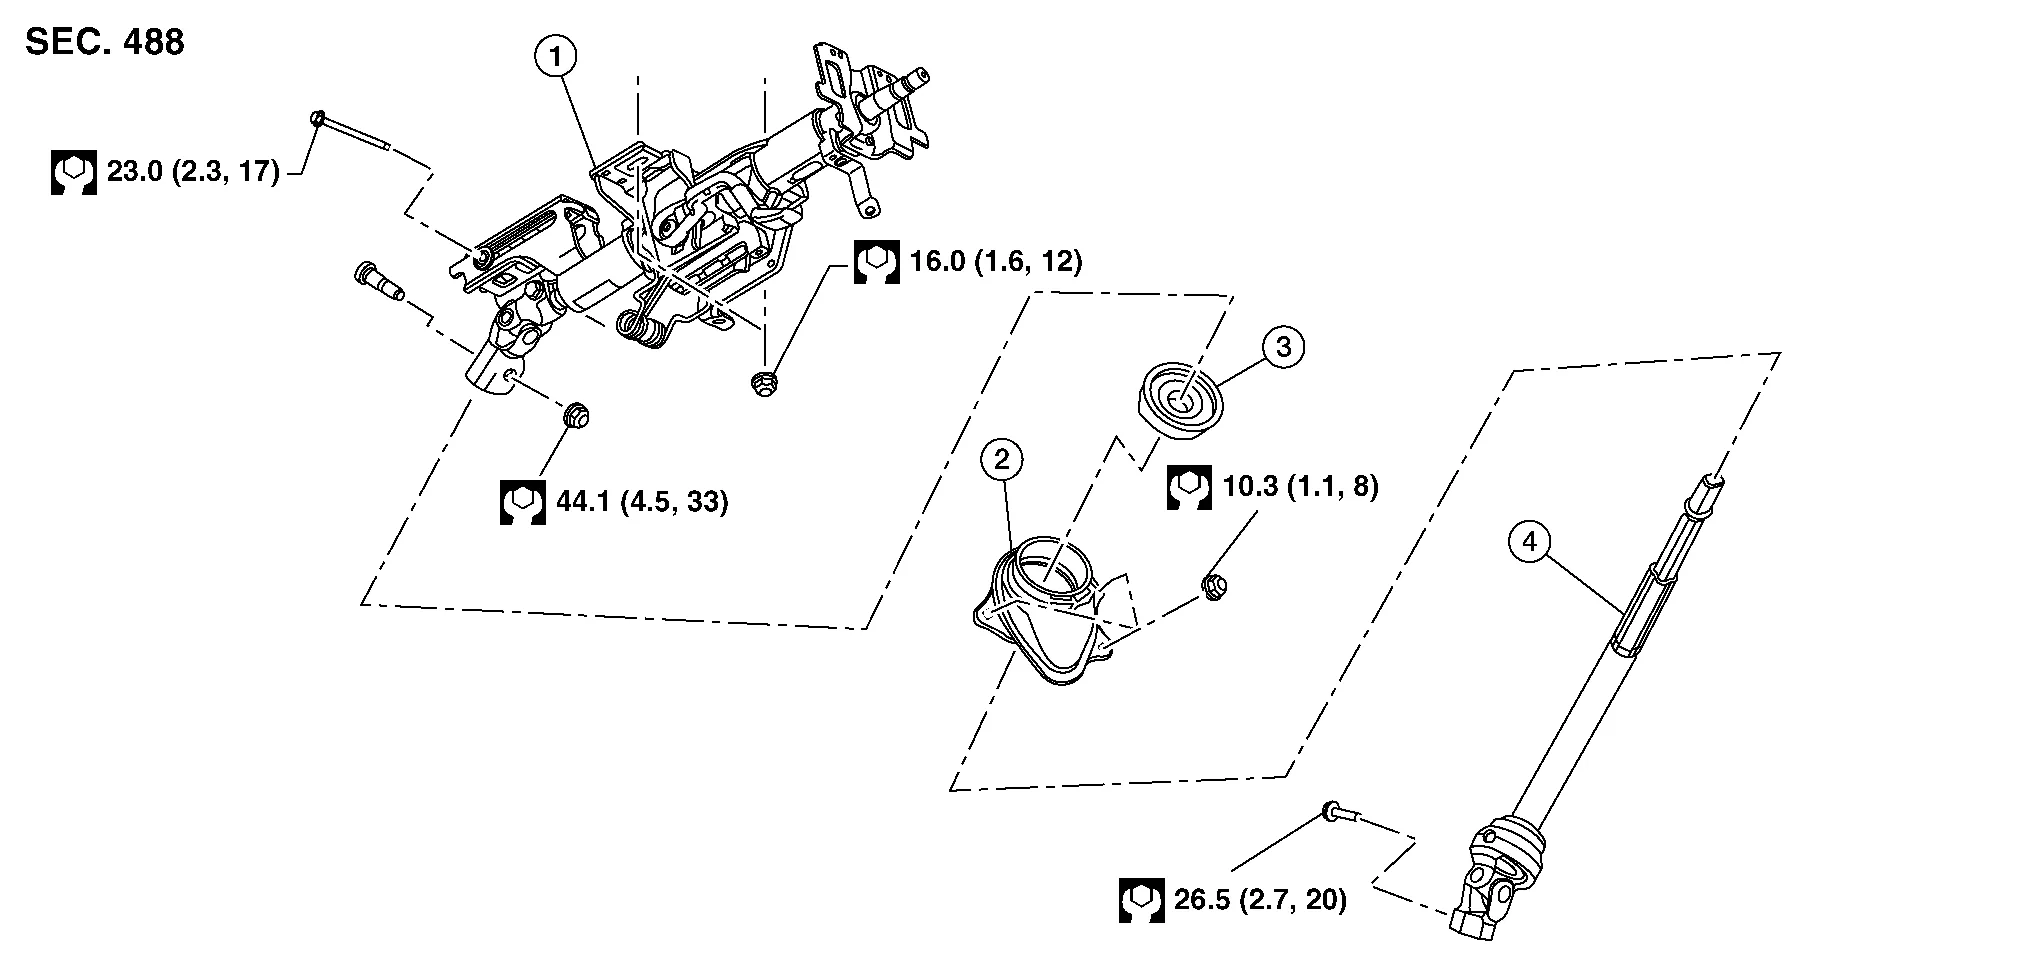
| 1. | Steering column | 2. | Hole cover | 3. | Lower boot |
| 4. | Steering intermediate shaft |
CAUTION:
-
Do not cause impact to steering column during removal and installation.
-
Do not move the steering gear during removal and installation of the steering column.
REMOVAL
Remove the combination switch. Refer to Removal and Installation.
Remove the steering angle sensor from the steering column. Refer to Removal and Installation.
Remove the left knee air bag module. Refer to Removal and Installation.
Disconnect the harness connectors from the tilt and telescopic motor (if equipped).
Remove the nut and bolt and separate the steering intermediate shaft from steering column.
Remove the steering column nuts and bolt then remove the steering column.
INSTALLATION
Installation is in the reverse order of removal.
CAUTION:
When installing the steering column, finger-tighten all of the lower bracket and joint retaining bolts then tighten them to specification. Do not apply undue stress to the steering column.
 NOTE:
NOTE:
Align the slit on the steering intermediate shaft with projection on the steering gear. Connect surface (A) to surface (B).

CAUTION:
When connecting the steering intermediate shaft (1) to the steering gear (2), first finger-tighten the joint retaining bolt (A) then tighten to specification. The joint retaining bolt is directional. Refer to Exploded View.

-
After installation, turn steering wheel to make sure it moves smoothly while turning to the left and right stops. Make sure the number of turns are the same from the straight-forward position to the left and right stops. Make sure that the steering wheel is in a neutral position when driving straight ahead.
-
After installing the steering column, check the tilt mechanism for proper operation.
-
Adjust the neutral position of the steering angle sensor. Refer to Description.
 Steering Wheel
Exploded View
1.
Steering wheel
2.
Cover
3.
Steering switches
4.
Driver air bag module
A.
Refer to Exploded View.
Pawl
Removal and Installation
REMOVALSet the front wheels and tires in the straight-ahead position...
 Steering Gear and Linkage
Exploded View
1.
Outer socket
2.
Inner socket lock nut
3.
Small boot clamp
4.
Boot
5.
Large boot clamp
6.
Inner socket
7.
Spacer
8...
Other information:
Nissan Murano (Z52) 2015-2024 Service Manual: Seat Belt Retractor
Removal and Installation SEAT BELT RETRACTOR - (LH/RH)RemovalWARNING: Before servicing the SRS, turn the ignition switch OFF, disconnect both battery terminals then wait at least three minutes. Do not drop the seat belt retractor. Always handle it with care...
Nissan Murano (Z52) 2015-2024 Service Manual: Charging System :: Symptom Diagnosis. Charging System
Symptom Table Symptom Reference Battery discharged. Refer to Work Flow (With 165-DSS-5000P), or (Without 165-DSS-5000P). The charge warning lamp does not illuminate when ignition switch ON. The charge warning lamp does not turn OFF after the engine starts...
Categories
- Manuals Home
- Nissan Murano Owners Manual
- Nissan Murano Service Manual
- High Beam Assist (if so equipped)
- Passenger compartment
- Rear bench seat adjustment
- New on site
- Most important about car
Luggage hooks
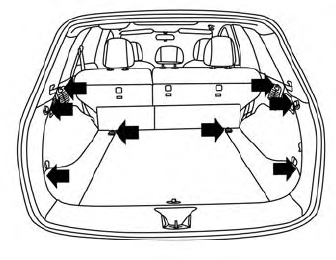
When securing items using luggage hooks located on the back of the seat or side finisher do not apply a load over more than 6.5 lbs. (29 N) to a single hook.
The luggage hooks that are located on the floor should have loads less than 110 lbs. (490 N) to a single hook.