
Nissan Murano: Wiper & Washer :: Removal and Installation / Front and Rear Washer Motor
Nissan Murano (Z52) 2015-2024 Service Manual / Driver Controls / Wiper & Washer :: Removal and Installation / Front and Rear Washer Motor
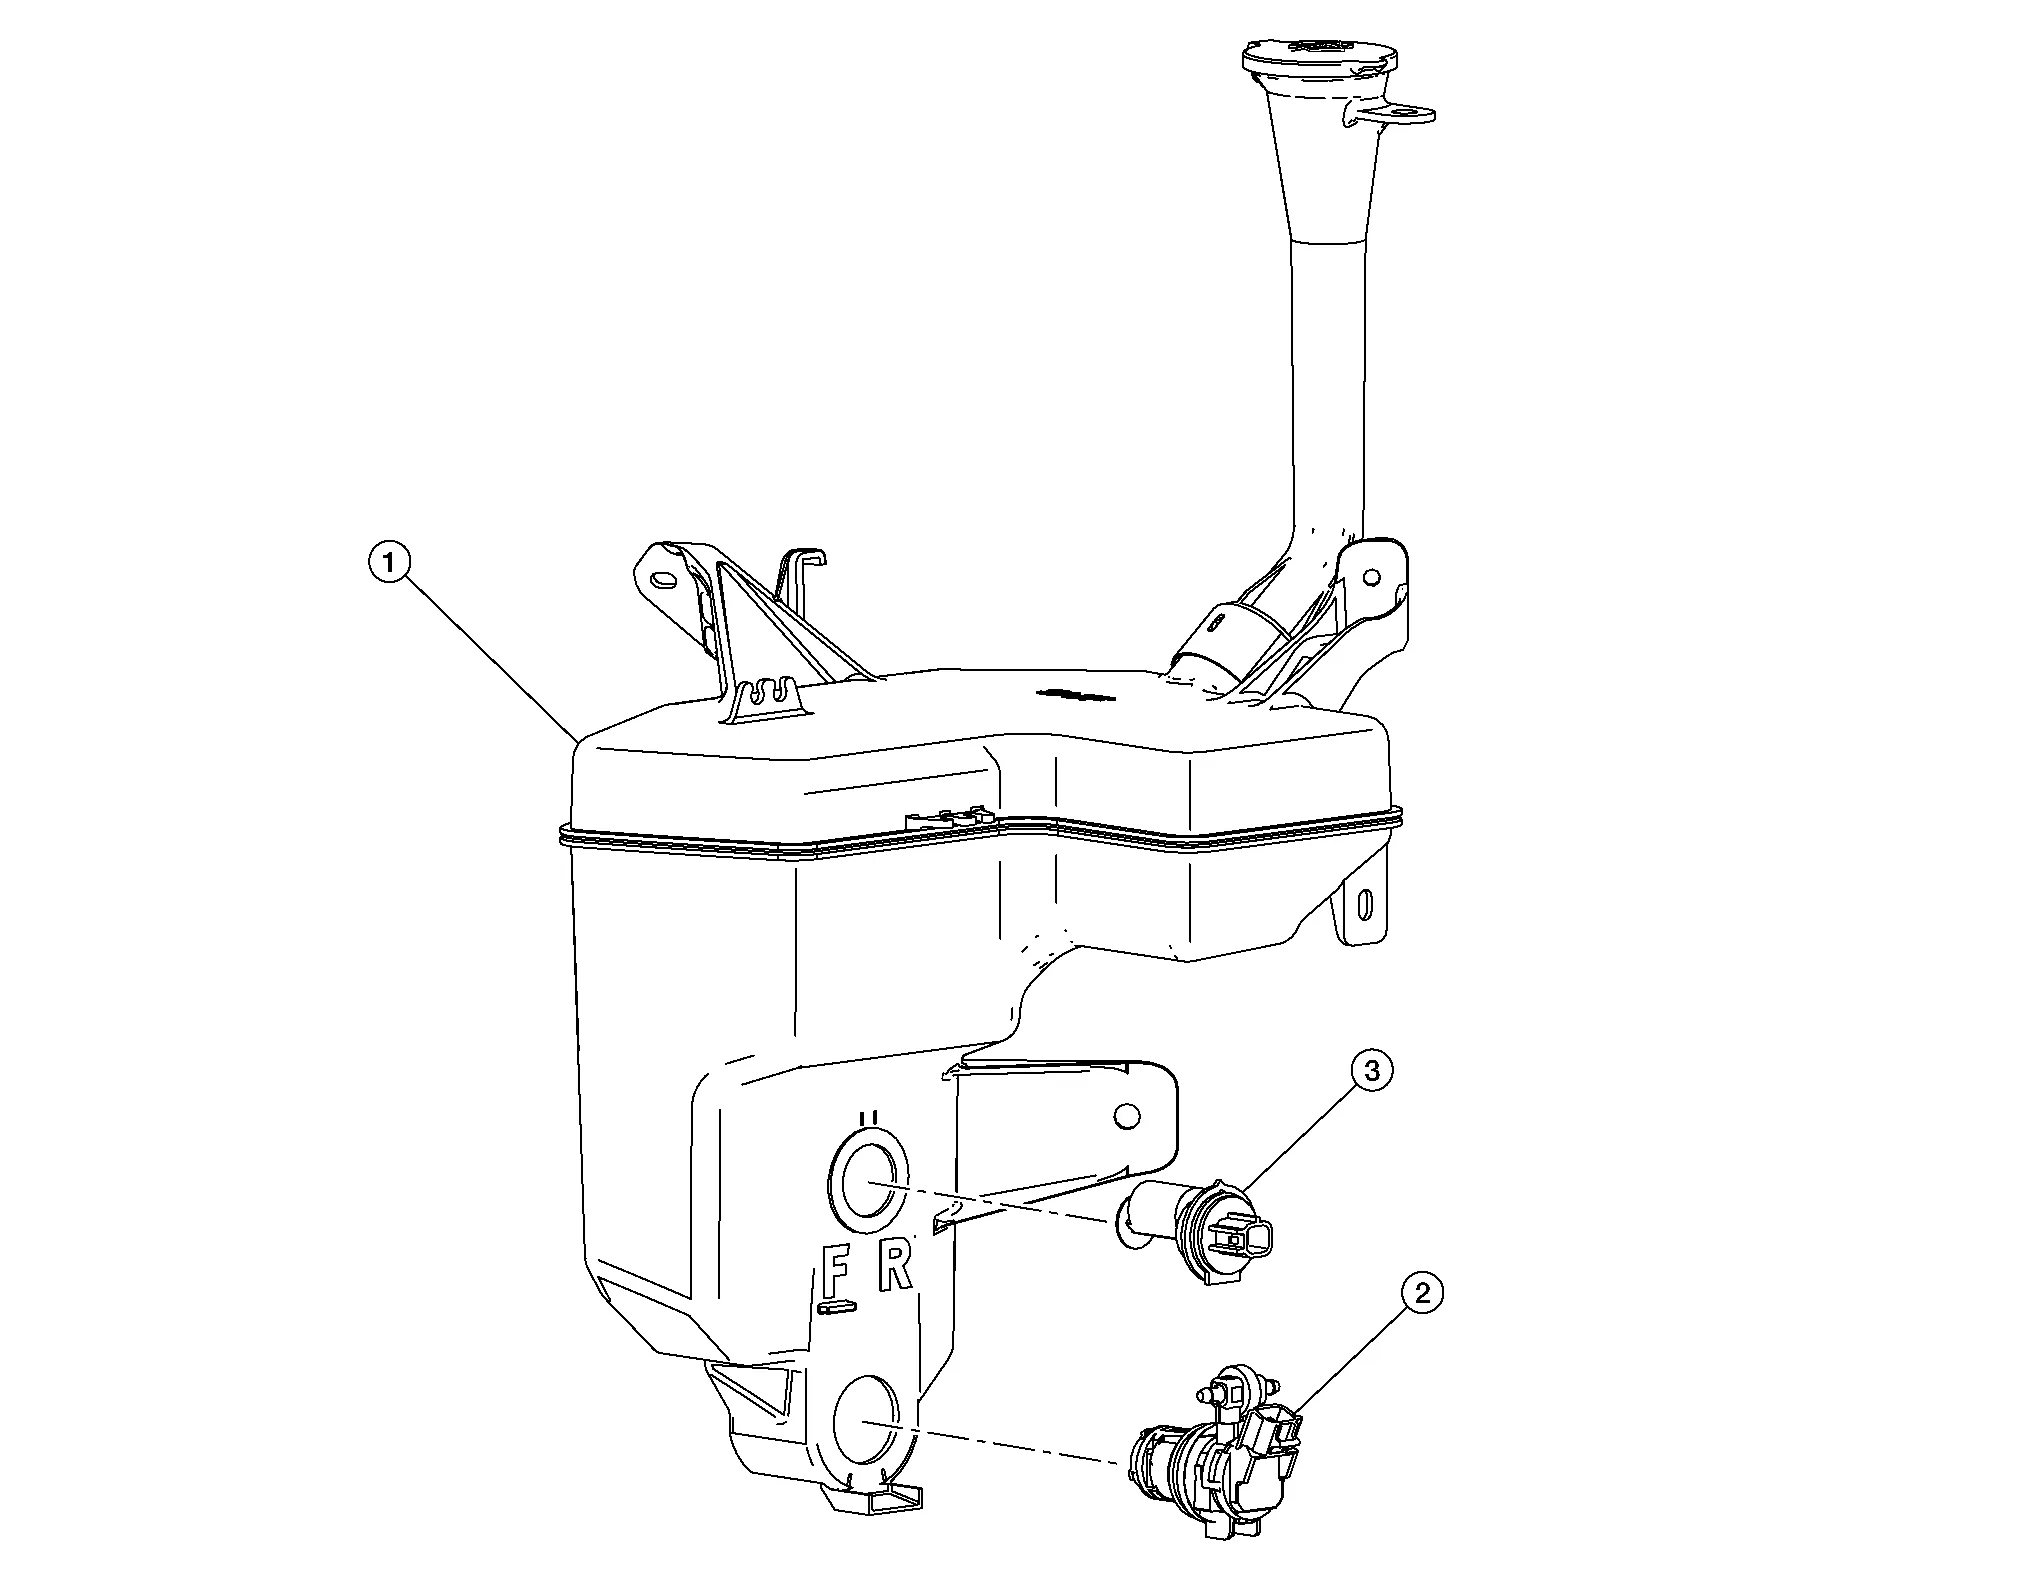
| 1. | Washer tank | 2. | Front and rear washer motor | 3. | Washer fluid level switch |
REMOVAL
Remove the front fender protector (RH). Refer to Removal and Installation.
Disconnect harness connector from the front and rear washer motor.
Disconnect the front and rear washer outlet tubes.
Remove the front and rear washer motor from washer tank.
INSTALLATION
Installation is in the reverse order of removal.
CAUTION:
-
Add water up to the top of washer tank inlet after installing. Check that no leaks exist.
-
Fill washer tank with specified amount of fluid. Refer to Specifications.
 Washer Tank
Exploded View
1.
Washer tank inlet
2.
Seal
3.
Washer tank
A.
Refer to Installation.
Removal and Installation
REMOVALRemove the front combination lamp (RH)...

Other information:
Nissan Murano (Z52) 2015-2024 Owners Manual: Vehicle security system
Your vehicle has two types of security systems: Vehicle security system NISSAN Vehicle Immobilizer System The vehicle security system provides visual and audible alarm signals if someone opens the doors, liftgate or the hood when the system is armed...
Nissan Murano (Z52) 2015-2024 Service Manual: Climate Controlled Seat Switch Indicator
Component Function Check CHECK CLIMATE CONTROLLED SEAT SWITCH INDICATOR FUNCTION Check that the related indicator lamp illuminates when climate controlled seat switch is set to HEAT or COOL mode. Is the inspection result normal? YES>> Inspection End...
Categories
- Manuals Home
- Nissan Murano Owners Manual
- Nissan Murano Service Manual
- How to enable/disable the LDW system
- Fuel recommendation
- Rear bench seat adjustment
- New on site
- Most important about car
Fuel gauge
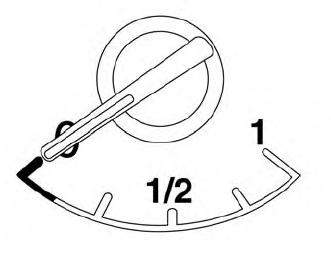
The gauge indicates the approximate fuel level in the tank.
The gauge may move slightly during braking, turning, acceleration, or going up or down hills.
The gauge needle returns to 0 (Empty) after the ignition switch is placed in the OFF position.

Copyright © 2026 www.nimurano.com