Nissan Murano: Body Side Trim / Body Side Welt
REMOVAL
Remove center pillar upper finisher. Refer to Removal and Installation.
Remove front body side welt.
INSTALLATION
Installation is in the reverse order of removal.
REMOVAL
Remove center pillar upper finisher. Refer to Removal and Installation.
Remove rear body side welt.
INSTALLATION
Installation is in the reverse order of removal.
 Center Pillar Lower Finisher
Removal and Installation
REMOVALMove front seat to full forward position.
Remove front kicking plate. Refer to Removal and Installation - Front Kicking Plate...
 Kicking Plate
Removal and Installation - Front Kicking Plate
REMOVALKicking Plate - InnerRelease front inner kicking plate (1) pawls by lifting up from both ends of front inner kicking plate as shown...
Other information:
Nissan Murano (Z52) 2015-2024 Service Manual: Battery Saver
CONSULT Function (BCM - BATTERY SAVER) ECU IDENTIFICATIONThe BCM part number is displayed.SELF DIAGNOSTIC RESULTRefer to DTC Index.DATA MONITOR Monitor Item [Unit] Description REQ SW -DR [On/Off] Indicates condition of door request switch LH. REQ SW -AS [On/Off] Indicates condition of door request switch RH...
Nissan Murano (Z52) 2015-2024 Owners Manual: Vehicle Dynamic Control (VDC) OFF switch
The vehicle should be driven with the VDC system on for most driving conditions. If the vehicle is stuck in mud or snow, the VDC system reduces the engine output to reduce wheel spin. The engine speed will be reduced even if the accelerator is depressed to the floor...
Categories
- Manuals Home
- Nissan Murano Owners Manual
- Nissan Murano Service Manual
- Warning lights
- Intelligent Forward Collision Warning (I-FCW)
- Jacking up vehicle and removing the damaged tire
- New on site
- Most important about car
Seatback pockets
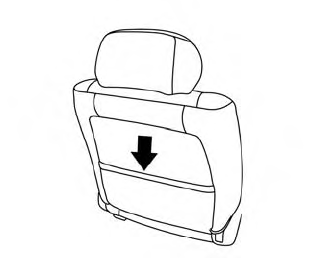
Theremaybe one or two seatback pockets located on the back of the driver and passenger seats. The pockets can be used to store maps.
WARNING
Copyright © 2026 www.nimurano.com