Nissan Murano: Engine Mechanical :: Removal and Installation / Engine Mount. Engine Mount (front)
WARNING:
-
Situate the vehicle on a flat and solid surface.
-
Place chocks at front and back of rear wheels.
CAUTION:
-
Always work safely.
-
Do not start work until the engine and exhaust system are cooled completely.
-
Refer to the applicable sections for warnings, cautions, notes, and instructions if necessary procedures are not included in this section.
 NOTE:
NOTE:
When removing components such as hoses, tubes/lines, etc., cap or plug openings to prevent fluid from spilling.
REMOVAL
Remove the air cleaner case (upper), air cleaner case (lower), front air duct, and air duct hose and resonator assembly. Refer to Removal and Installation.
Remove the battery and battery tray assembly. Refer to Removal and Installation.
Remove the engine under cover. Refer to Removal and Installation.
Remove the fender protector side covers (RH/LH). Refer to Exploded View.
Partially remove the fender protectors (RH/LH). Refer to Exploded View.
Remove the radiator assembly. Refer to Removal and Installation.
Remove the engine cooling fan shroud and motor assembly. Refer to Removal and Installation.
Remove the exhaust manifold heat shield (LH). Refer to Exploded View.
Support the engine with a suitable tool.
Disconnect the engine mount insulator (front) vacuum hose.
Remove the engine mount insulator (front) nut (A).
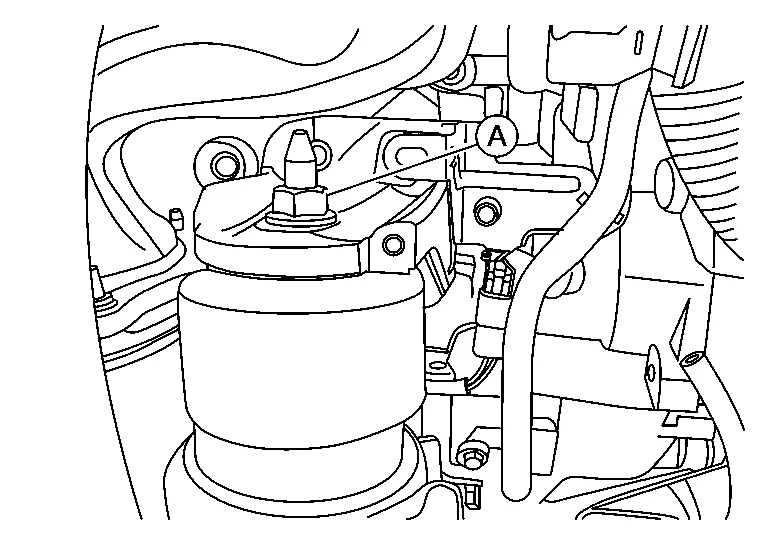
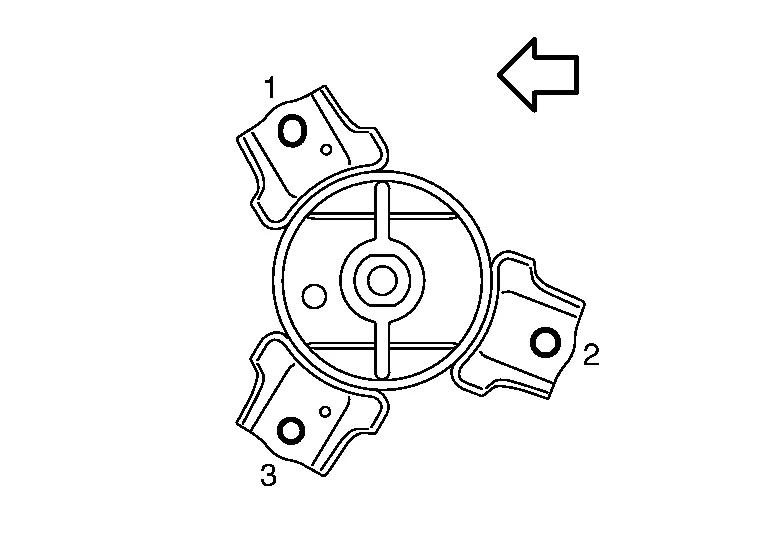
Loosen the engine mount bracket (front) bolts in the reverse order shown.
| : Engine front |
Remove the engine mount bracket (front).
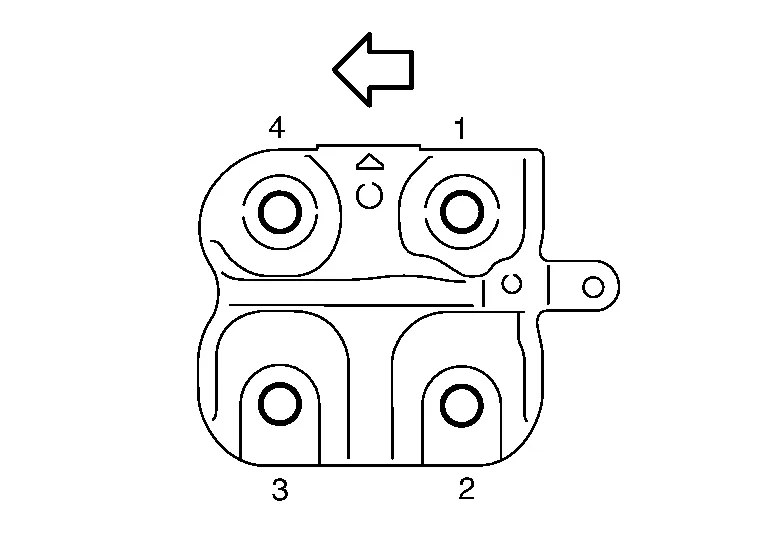
Remove the engine mount insulator (front) bolts in the reverse order as shown.
| : Front |
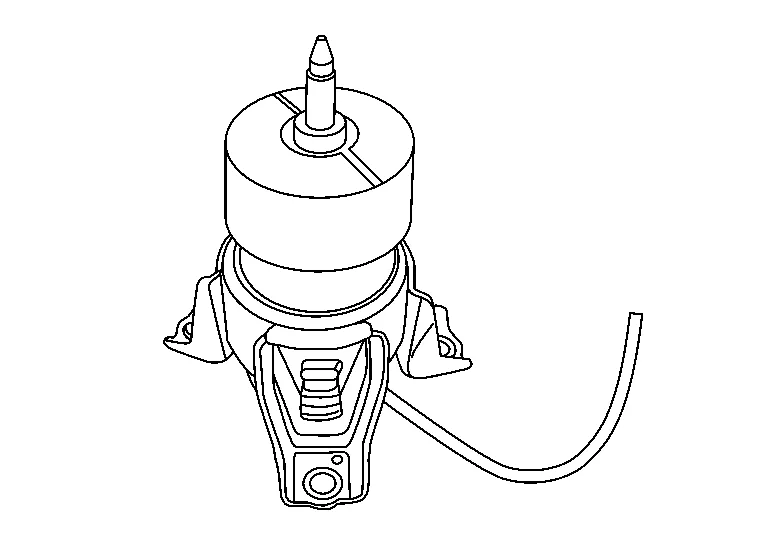
Remove the engine mount insulator (front).
INSTALLATION
CAUTION:
-
Do not damage or spill engine oil on the engine mount insulator (front).
-
Check engine mount insulator (front) is seated properly before tightening.
Install the engine mount insulator (front).
Install the engine mount insulator (front) bolts and tighten to specification in the order shown.
| : Front |
| Engine mount insulator (front) bolts | : 55 N·m (5.6 kg-m, 41 ft-lb) |
Install the engine mount bracket (front) to the engine block.
Tighten the engine mount bracket (front) bolts to specification in the order shown.
| : Engine front |
| Engine mount bracket (front) bolts | : 40 N·m (4.1 kg-m, 30 ft-lb) |
Install the engine mount insulator (front) nut (A) and tighten to specification.
| Engine mount insulator (front) nut | : 103 N·m (11 kg-m, 76 ft-lb) |
Installation of the remaining components is in the reverse order of removal.
 Cylinder Head
Exploded View
1.
Cylinder head bolt
2.
Cylinder head
3.
Cylinder head gasket
4.
Engine block
A.
Refer to Removal and Installation.
Removal and Installation
REMOVALRemove the engine from the vehicle...

Other information:
Nissan Murano (Z52) 2015-2024 Owners Manual: Heating (A/C OFF)
The air conditioner does not activate.When you need to heat only, use this mode. Press the AUTO button. Turn the temperature control dial to set the desired temperature. The temperature of the passenger compartment will be maintained automatically...
Nissan Murano (Z52) 2015-2024 Service Manual: System
System Description SYSTEM DIAGRAMTCU Input Signal (CAN Communication)Transmit unitSignal name Air bag diagnosis sensor unit Air bag crash order signal ABS actuator and electrical unit (Control unit) ABS malfunction signal BCM Door switches state signal Combination meter Nissan Murano Vehicle speed signal Hand brake switch signal ECM Engine RPM signal MIL lamp signal IPDM E/R Anti-theft horn status signal TCM Transmission range indication signal DESCRIPTION The Telematics system is a system for providing information by connecting the vehicle and the user to the NissanConnect center...
Categories
- Manuals Home
- Nissan Murano Owners Manual
- Nissan Murano Service Manual
- Rear bench seat adjustment
- Warning lights
- GAS STATION INFORMATION
- New on site
- Most important about car
Autolight system
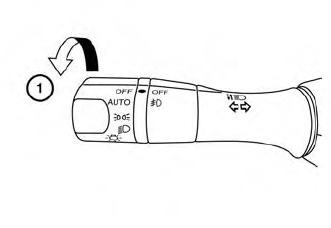
The autolight system allows the headlights to turn on and off automatically. The autolight system can:
Turn on the headlights, front parking, tail, license plate and instrument panel lights automatically when it is dark. Turn off all the lights (except daylight running lights) when it is light. Keep all the lights on for a period of time after you place the ignition switch in the OFF position and all doors are closed.