Nissan Murano: Lan System :: Can Gateway / Removal and Installation. 3ch Can Gateway
CAUTION:
Before replacing 3CH CAN gateway, perform “Before Replace ECU” of “Read / Write Configuration” to save or print current Nissan Murano vehicle specification. Refer to Description.
REMOVAL
Remove the glove box assembly and housing. Refer to Removal and Installation.
Remove the 3CH CAN gateway (1) from the bracket by sliding it as shown.
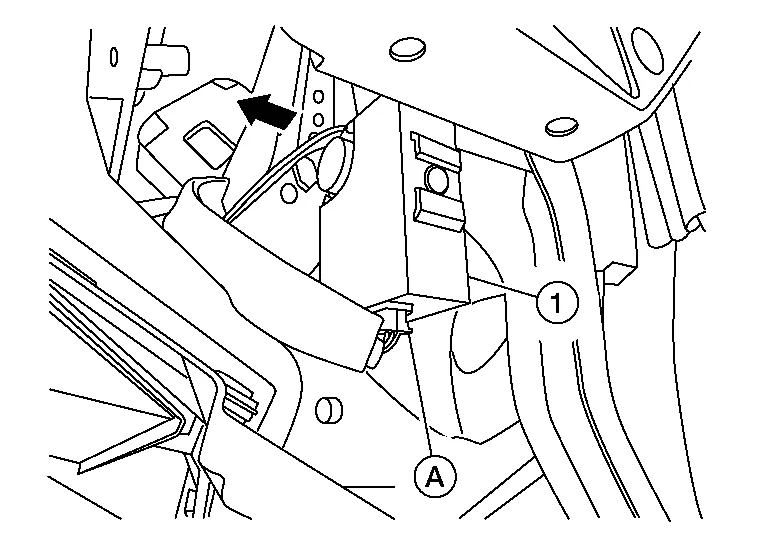
Disconnect the harness connector (A) from the 3CH CAN gateway and remove the 3CH CAN gateway.
INSTALLATION
Installation is in the reverse order of removal.
CAUTION:
To prevent malfunction, be sure to perform “After Replace ECU” of “Read / Write Configuration” or “Manual Configuration” when replacing CAN gateway. Refer to Description.
 Power Supply and Ground Circuit
Diagnosis Procedure
CHECK FUSE
Check that the following fuse are not blown.
Signal name Fuse No.
Battery power supply
25
Ignition power supply
31
Is the fuse blown (open)?
YES>>
Replace the blown fuse after repairing the affected circuit if a fuse is blown...

Other information:
Nissan Murano (Z52) 2015-2024 Service Manual: Precaution. Precautions
Precaution for Supplemental Restraint System (SRS) "AIR BAG" and "SEAT BELT PRE-TENSIONER" The Supplemental Restraint System such as “AIR BAG” and “SEAT BELT PRE-TENSIONER”, used along with a front seat belt, helps to reduce the risk or severity of injury to the driver and front passenger for certain types of collisions...
Nissan Murano (Z52) 2015-2024 Service Manual: Aeb Warning Lamp Is Blinking
Symptom Description The AEB warning lamp is blinking. Refer to Diagnosis Procedure.NOTE: When any of the following conditions, the AEB warning lamp blinks: The distance sensor area of the front of the Nissan Murano vehicle is covered with dirt or is obstructed The interior temperature of the vehicle is extremely high The windshield is dirty, frosted, fogged up, or damaged in front of the lane camera unit The lane camera unit or the lane camera unit bracket is not mounted properly Diagnosis Procedure CHECK THE WINDSHIELD Check if the windshield is dirty, frosted, fogged up, or damaged in front of the lane camera unit...
Categories
- Manuals Home
- Nissan Murano Owners Manual
- Nissan Murano Service Manual
- High Beam Assist (if so equipped)
- Memory storage function (key-link)
- Warning lights
- New on site
- Most important about car
Seatback pockets
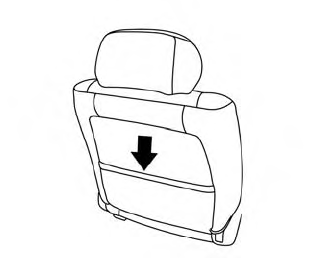
Theremaybe one or two seatback pockets located on the back of the driver and passenger seats. The pockets can be used to store maps.
WARNING